Now that the NAS is back online and has the new pool created, I’m going to dive into creating some datasets and users. In the future, I’ll create any users or groups before I create any dataset that is owned by said user or group as it’s a bit less clunky than doing what I did here.
Dataset Creation
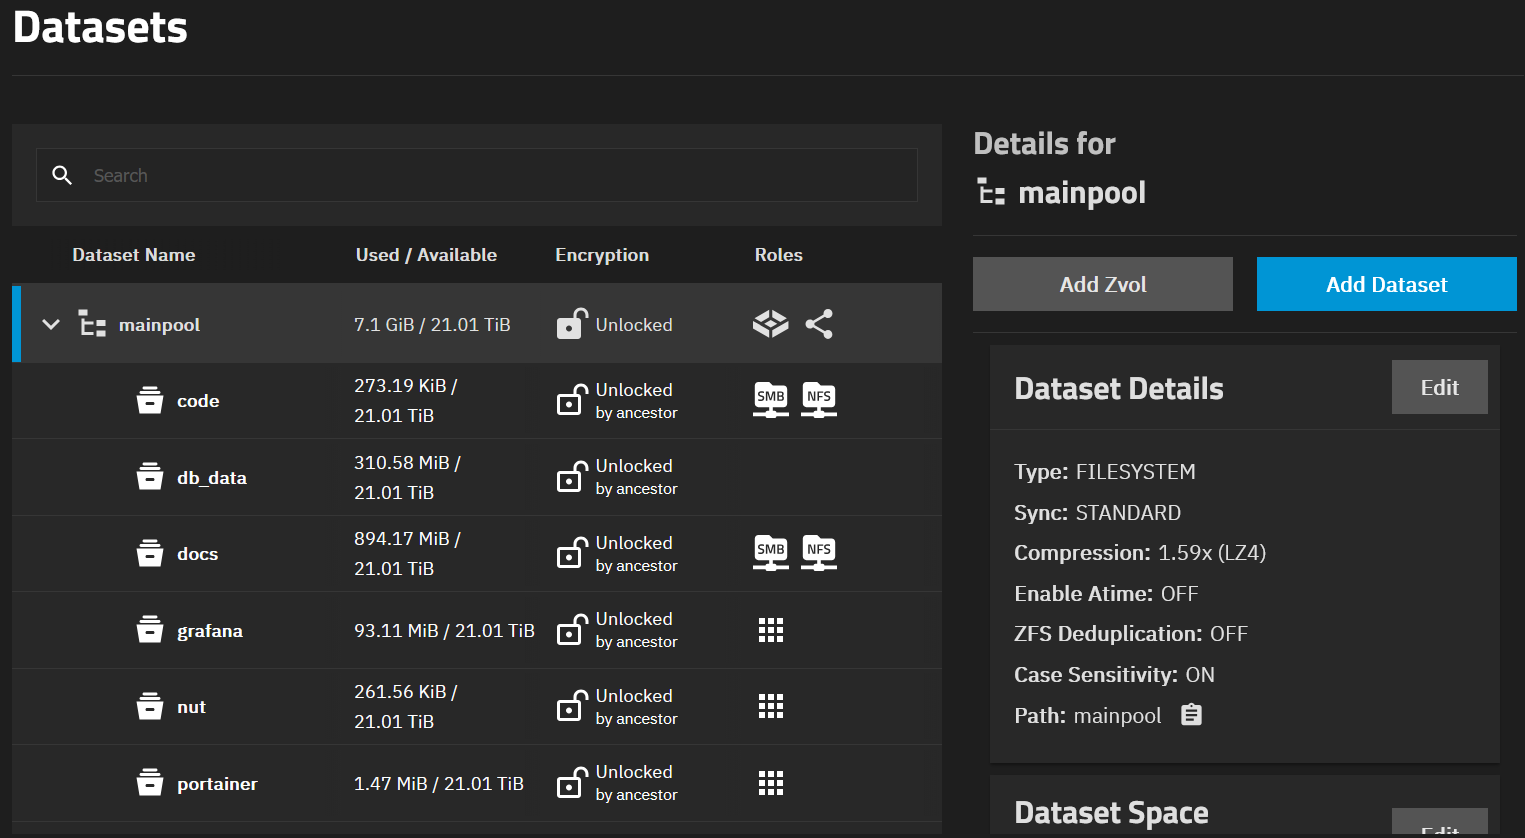
I’ll start with creating a dataset for general use from endpoints like my laptop or desktop. Think PDFs, text documents, spreadsheets kind of stuff. I’ll navigate to the Datasets tab in the TrueNAS GUI, select my main pool, then select Add Dataset. This dataset will be called “docs”, I’ll select multiprotocol for the Dataset Preset and enable both SMB and NFS so it will work with both Windows and Linux. SMB name is “docs” to match the dataset name. I’m not going to set a quota (quotas would be useful for multi-user use or if I had more limited storage, but it’s just me and I have plenty of space), and I’ll leave encryption as inherited. I’ll leave the other advanced options as the default, most of them inherit from the parent pool so that’s fine by me for now and for this dataset.
The next dataset I’ll create will be for my weather database that will be used by my Docker container running TimescaleDB. I’ll select Apps for the Dataset Preset, and leave the advanced options default.
Then finally, for now, I’ll create a dataset that will host all of my Python and whatever other code I wind up writing. I’ll likely keep all of my code in my GitHub account, even if in private repos, so this dataset will be a local backup, GitHub will be a remote backup. I’ll call the dataset “code” and select a Multiprotocol dataset preset enabling SMB and NFS so I can access the share from either Windows or Linux. For this one, I’ll change the compression in the advanced options from the default LZ4 to ZSTD, which is lightweight and good for files containing code.
User Creation
Now, I’ll need to make some users to access the shares. I don’t want to give them full admin permissions and I want the users to only be able to access their appropriate shares. I’ll make one user per dataset with regular user permissions, nice and simple.
I’ll select the Credentials > Users tab in the TrueNAS GUI. I’ll tie each user to the appropriate dataset, setting read, write, and execute user permissions (execute is required for the user home directory in TrueNAS). I’m not going to allow them to login via shell or SSH. No sudo commands allowed. I’m also going to save all of the passwords in my password manager, using the manager to generate random, secure passwords.
Now, when I mount the docs share for example to my laptop, I can use the non-admin credentials to connect. In the event those credentials were somehow compromised, it’s not a huge deal because they aren’t the same credentials it would take to login to the NAS web GUI and make admin changes.
Share Mounting
Now that I’ve got my users set up, I’m going to mount the docs dataset to my laptop, and transfer a bunch of data that I want to live on the NAS. This will be fine for my laptop because I already have a rule that allows it to talk across VLANs to various endpoints, the NAS being one of those. For any other device, I’ll need to create a firewall rule to allow this communication to happen.
My laptop is running Windows, so I’ll go into File Explorer and right click on This PC, select Map a Network Drive, then fill in the appropriate information. In this case, I’m going to mount it as \[IP]\docs for now. I’ll enter the credentials for the user I created, then start the transfer after the mount is done. Down the road when I bring my Pi-hole back up, I’ll use hostnames to connect over the network instead of IPs.
All of this stuff is pretty simple and straightforward. The most important part is locking things down and not giving users or groups more permissions than necessary.
I’m going to pivot here and set up Portainer and my TimescaleDB container. When that post is up, it will live here.