I’m going to run TimescaleDB in Portainer to host my weather database for my yard and irrigation project. I decided to use Portainer just because it’s easier to use than the Docker CLI, in my opinion. Portainer is available as a native app within TrueNAS as well, so everything will be nice and smooth.
TimescaleDB was my choice over vanilla PostgreSQL or other options because it’s great for time series data, which is what I’ll be dealing with in the weather data. It automatically creates chunks within what are called hypertables, which allows you to manage large quantities of data in a time series easily and offers features like continuous aggregates, which will be very useful for what I’ll be doing.
I’ve done some building and testing of my scrapers that grab weather forecast data from the National Weather Service. Those were saving to a local test database on my laptop while I was building. Once the database is set up on the NAS, I’ll point the scrapers to the new database and set cron jobs to fire four times per day for the forecast scrapers, and once per hour for the severe weather alert scraper.
Portainer Install
I’ll start by selecting the Apps tab in the TrueNAS GUI, click Discover Apps, then find the Portainer app. I need to set up a pool to install, so I’ll select my mainpool.
I’m going to leave all the defaults selected on the Portainer configuration, except I’m going to select Host Path for Portainer Storage and select /mnt/mainpool, click the Create Dataset option, then enter “portainer”, then I’ll click Install. Selecting a Host Path for the storage means the data will be stored directly on the NAS in the selected dataset, not within the app. This dataset will hold the data related to Portainer. I should have set up the dataset beforehand, but this way works as well.
After the app is installed, I need to start the app, and then on the right I’ll click the HTTPS button and see what pops up. Nothing. The app is starting but then immediately crashes. After doing some troubleshooting, I find that the issue is because the owner of the dataset is root, it needs to be apps. This is why it’s better to create the dataset and give it the appropriate owner before installing and configuring the app. When creating the dataset from the app configuration, it defaulted to giving root the dataset ownership. I’ll modify the permissions to have apps as the owner, and now it starts and stays up as expected and I’ve got access.
I land at a page that prompts me to create an admin username and password. Once I do that, I’m in.
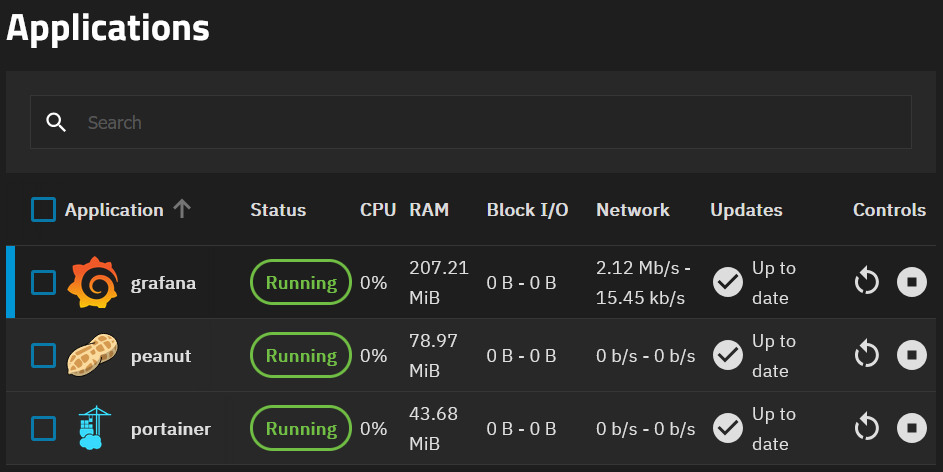
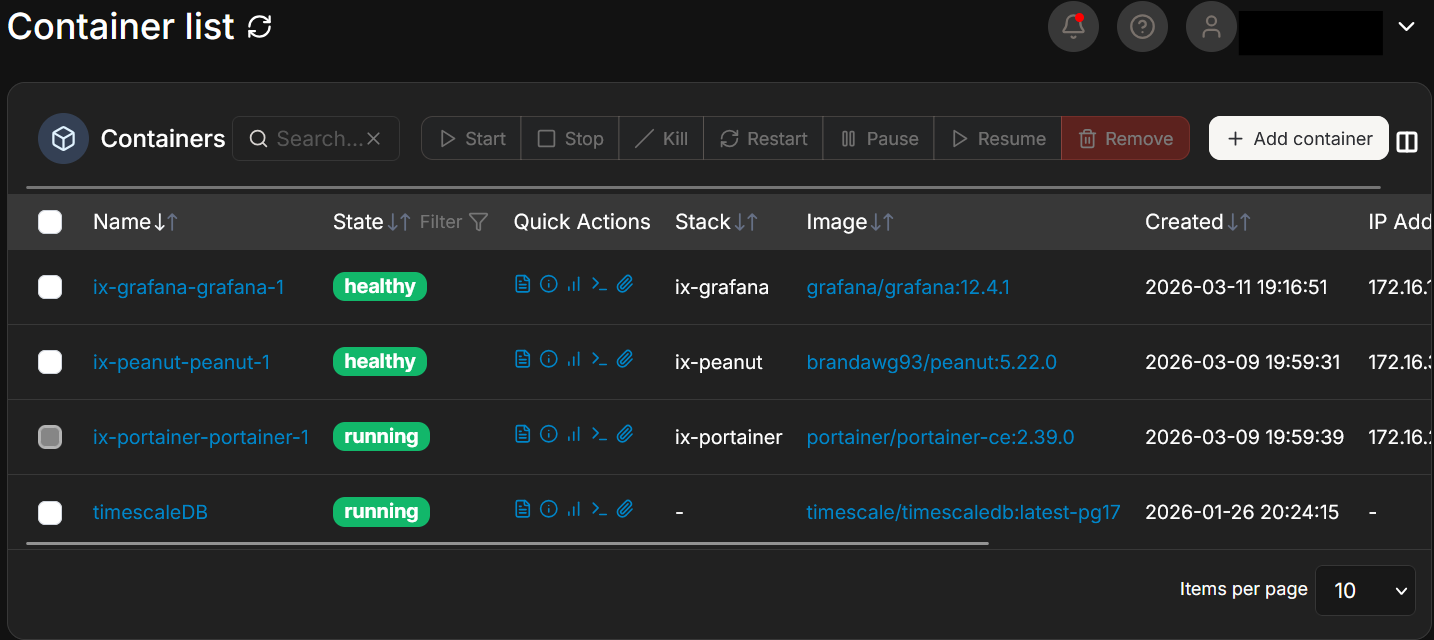
Now, what’s interesting here is that TrueNAS Applications are just Docker containers. So when I add applications through TrueNAS, they appear in Portainer as well. This snip was taken more recently than the work in this writeup, so you can see any container that starts with “ix-*” is an Application installed through the TrueNAS Application GUI.
TimescaleDB Install
Now I’ll grab the TimescaleDB Docker image. I’ll select the local environment in Portainer and I can see a Portainer container in the containers tab. I’ll create a new container in Portainer and name it timescaleDB. I’ll go to DockerHub and see what the latest image is. It looks like timescale/timescaledb:latest-pg17 is the most recent, so I’ll enter that in the Image field in Portainer. I’m going to map the ports on the host 5432 to container 5432. In the advanced options, I’ll mount the container volume to the dataset by using /var/lib/postgresql/data, selecting bind, then using path /mnt/mainpool/db_data. This will give me persistent storage on the NAS which should survive container restarts and updates. I’ll then need to create some environment variables for username, password, and database name. Those will be POSTGRES_USER, POSTGRES_PASSWORD, and POSTGRES_DB, respectively. I’ll change the restart policy to Always. And now I’ll deploy.
I’ve already got psql on my laptop from earlier scraper work, so I’ll start that up, and once I give the proper information, I’m in. Very good! I can run “select version();” and “\dx” commands to see that I’ve got the right version I selected and that the Timescale extension is installed. Now I’ll take my saved SQL statements from my testing and create my tables. I’ve copied and pasted my create table commands setting the schema for my three tables I have so far. Now I’ll convert each table to a hypertable for Timescale magic.
select create_hypertable('home_forecast', 'starttime', if_not_exists => TRUE);
select create_hypertable('work_forecast', 'starttime', if_not_exists => TRUE);
select create_hypertable('alerts', 'onset', if_not_exists => TRUE);
The commands below will confirm that my tables were created with the intended schema and that they were successfully converted to hypertables.
\d+ [tablename]

select * from timescaledb_information.hypertables;
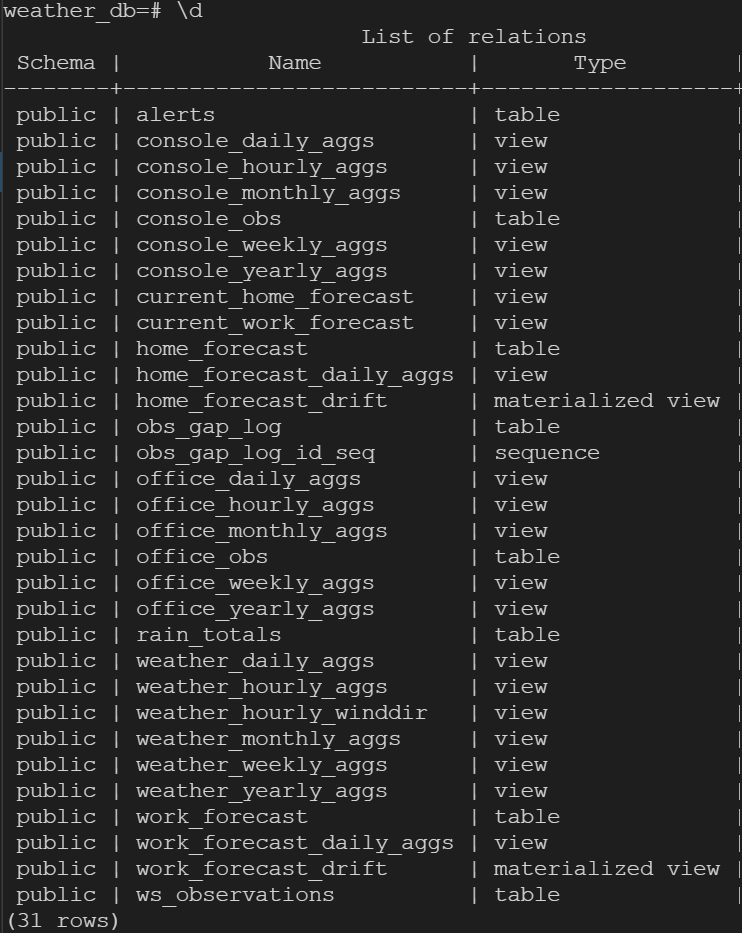
I’ll have more tables to set up when I deploy my weather station and other sensors in the yard, but those are stories for another day.
This snip was taken long after the initial setup of the database, so you can see many tables and views. Don’t worry, I’ll have future posts covering all of that!
Setting the scrapers up
The next move is to copy my NWS scraper modules to the Pi that is currently running my daily briefing. I’ll do that, then update the config file with my new TimescaleDB data, then do a manual run to test hitting the API and inserting into the appropriate database tables.
I’m going to use SCP to copy all of the project files from my laptop to the Pi. Another way to do this would be to push to a GitHub repo with the laptop, then pull from the repo with the Pi, either way works. I want to use the -r option with SCP to copy the entire directory and subdirectories recursively in one shot.
I made a mistake here because I copied my venv from my Windows laptop to the Pi, which isn’t going to work on the Pi. I’ll need to delete that, then create a new venv and install my packages from requirements.txt. Now I’m ready to test.
I’ve tried a manual run, and my log shows that the NAS refused the connection from the Pi. Totally normal, I need to make a firewall rule allowing that connection. After that, I can see I have data in my database!!! Now it’s time to set up my cron jobs. I’ll use one job to run at multiple times. NWS updates at 5:30am, 11:30am, 5:30pm, and 11:30pm. I checked my run.sh bash script and it already has the correct data, so now I set the cron jobs, ensure my run.sh bash script is executable, and let it rip!
Again, more teasers. This snip was taken after this work was done, and you’ll see some crontab entries for things I’ll talk about in future posts. See you next time!
